Start with what you already have
The simplest way to choose a visual AI workflow is to ask what must remain unchanged. If you have only an idea, start with text-to-image. If you have a useful image but want a different visual treatment, try image-to-image. If most of an image works and one area needs attention, use inpainting. These are starting points rather than rigid rules: a project may move through all three as it develops.
Before opening a tool, write down the image’s job. Is it an exploratory mood board, a social graphic, a product concept or an illustration that must fit an established layout? Note the required dimensions, audience and any details that cannot drift, such as a brand color or the position of a subject. This short brief makes it easier to judge outputs by their purpose instead of choosing whichever result looks most striking.
Use text-to-image to explore a direction
Text-to-image generates a new image from a written description. It is useful when you do not need to preserve a particular photograph or composition. A prompt can name the subject, setting, framing, lighting, mood and intended use: for example, a quiet reading corner seen from a doorway, with warm afternoon light and open space on the right for a headline. Describing the space needed for text is often more useful than adding a long list of decorative adjectives.
Treat early outputs as options, not finished assets. Generate a few distinct directions, identify what each gets right, then revise the prompt around one or two important changes. If the composition matters, specify it plainly: close-up versus wide view, central subject versus off-center subject, simple background versus busy scene. Generation may still produce awkward hands, inconsistent objects or lettering that looks convincing at a glance but is unusable. Add essential text in a design editor rather than relying on the image itself to render it accurately.
Use image-to-image when a starting image matters
Image-to-image uses an existing image as part of the input for a new result. It can help turn a rough sketch into a more developed concept, explore alternate styles for a composition or create variations based on an approved draft. Unlike a prompt alone, the source image gives the system visual information about shapes, placement and color. How closely a tool follows that source varies by tool and settings, so test it before assuming a detail will be preserved.
Choose a source that clearly shows the features you want to carry forward. A clean sketch is often easier to interpret than a cluttered collage. In the accompanying prompt, separate what should stay from what should change: keep the low camera angle and three-object arrangement, but replace the muted palette with bright, flat colors. If exact packaging, a recognizable person or a fixed logo must survive unchanged, plan to protect or add those elements in a conventional editor. Image-to-image is better suited to guided variation than to guaranteeing pixel-level fidelity.
Use inpainting for a local change
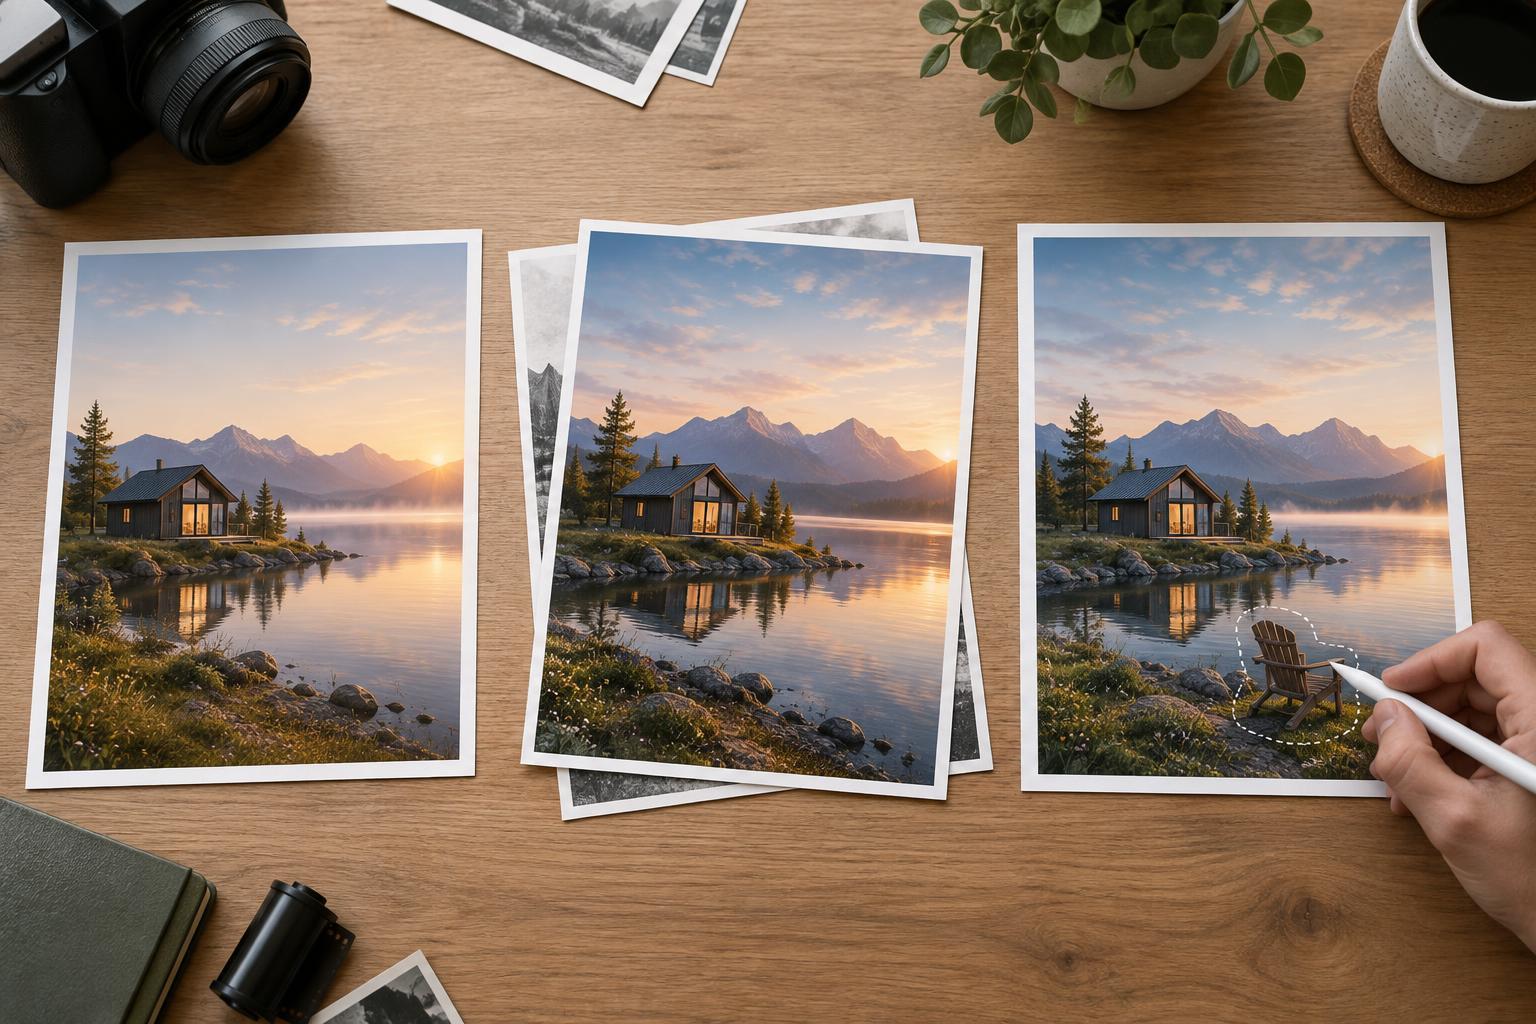
Inpainting edits a selected region of an existing image, often called a mask, while using the surrounding image as context. Choose it when the overall result works but a local element does not: a distracting object needs removing, a blank wall needs a plant or a sleeve needs a different color. It can save time compared with regenerating the entire scene and hoping the successful parts return.
Mask enough area to include the complete element you want changed, with a little room for edges, shadows and reflections. A mask that is too tight may leave fragments behind; one that is too broad may alter details you wanted to keep. Describe the desired replacement and its relationship to the scene, such as matching the existing light direction and perspective. After each edit, check the boundary at full size. Seams, repeated textures and shadows that no longer match can be less obvious in a small preview.
Combine methods, then review the final asset
A practical sequence might begin with text-to-image to find a visual direction, move to image-to-image using a selected draft as a reference, and finish with inpainting for a specific correction. Save the versions that mark meaningful decisions, along with the prompts and settings that produced them. This gives a small team something concrete to compare and makes it easier to return to an earlier direction if a later edit loses what worked.
Before publishing, review the image in its actual context and at its intended size. Check whether it communicates the right idea, leaves room for required copy and contains visual errors that could confuse viewers. Be careful with images of real people, client materials and private reference images: confirm you have permission to use them and understand what the chosen tool does with uploads. For work that needs an exact product, identity or factual depiction, use AI output as a draft and verify the final details yourself. The best workflow is the one that gives you enough creative flexibility while keeping the important parts under your control.