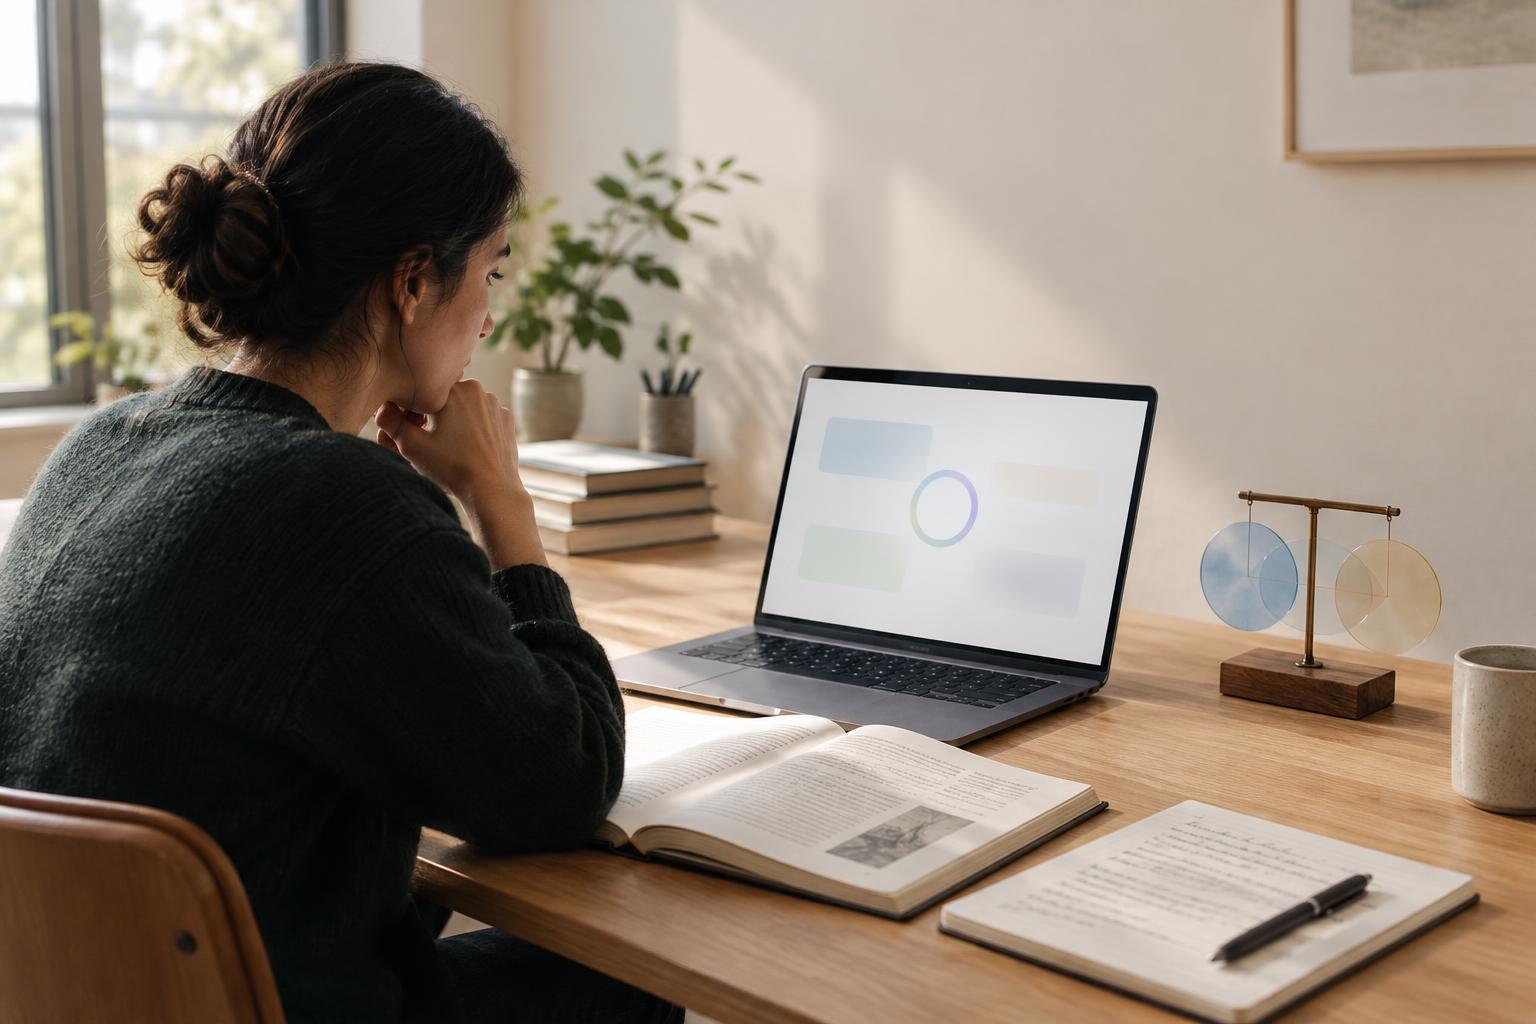
Plan the sequence before generating shots
A strong clip can still feel out of place in a finished video. A character’s jacket may change color, a doorway may move, or the light may suddenly come from the opposite side. These shifts are easier to prevent when you treat the project as a sequence of connected shots rather than a collection of separate prompts.
Start with a short shot list. For each shot, note who is visible, where they are, what action begins and ends, and how the camera frames it. Identify the details viewers need to recognize across cuts: perhaps a red bicycle, a distinctive hairstyle or a window behind the main subject. Not every background object needs to match, but the details that carry the story should.
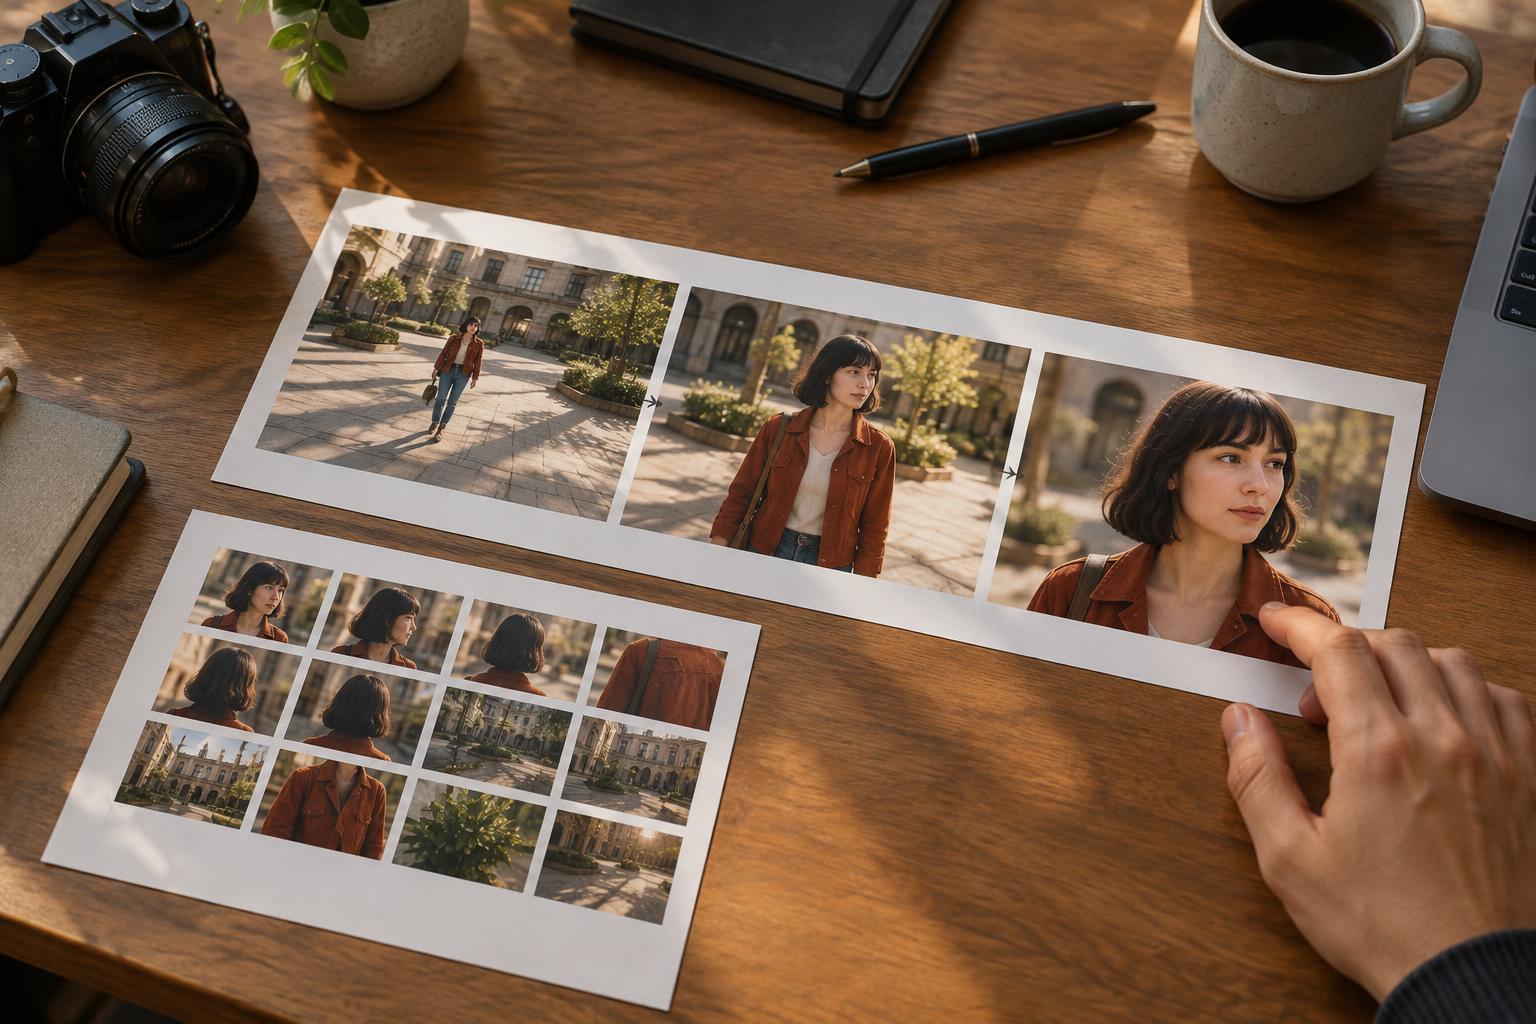
Decide which changes are intentional. Moving from a wide shot to a close-up is natural; changing the room layout without showing a move is usually distracting. This distinction gives you a clearer basis for accepting or rejecting generated clips.
Create a compact visual reference sheet
Before generating the full sequence, make a reference sheet that records the look of the project in words and, where your tool permits, approved images. Describe each recurring character’s clothing, hair and recognizable features. Add the setting’s main colors, furnishings, time of day and light direction. For a stylized piece, specify whether it should look illustrated, stop-motion-inspired or photorealistic.
Keep descriptions specific enough to guide decisions but short enough to reuse. “Blue denim jacket with a white collar” is easier to check than “casual clothes.” If the jacket is important, include that exact description in every relevant shot prompt. Save a representative frame from an approved clip as a reference for later shots if your workflow supports it. A reference can improve consistency, but it does not guarantee that every detail will remain fixed.
Give files clear names that connect them to the shot list, such as “scene-01-wide” and “scene-01-close.” Track which prompt and reference produced each approved result. This small amount of organization helps when one shot needs to be regenerated without changing the rest of the sequence.
Write prompts around what must stay the same
Use a stable block of wording for recurring elements, then add instructions specific to each shot. The stable block might cover the character, location, visual style and lighting. The shot-specific part can describe framing, action and camera movement. For example, a close-up prompt should change the framing without silently changing the character’s outfit or the scene’s time of day.
Be especially clear about the starting and ending state of an action. If one clip ends as a person reaches for a cup, the next should begin with the cup in a plausible position and the person on the same side of the table. Note screen direction as well: a subject walking left to right will appear to reverse course if the following shot changes direction without a reason.
Generate and review a few connecting shots early instead of finishing every scene in isolation. This reveals whether your planned cuts work before you invest time in polishing clips that may not fit together.
Use editing to bridge small mismatches
Place rough versions of the clips on a timeline as soon as possible. Watch the cut, not just each clip on its own. Differences in color, scale, pace or camera height are often most obvious in the moment one shot changes to the next. A still frame from either side of the cut can make those differences easier to compare.
Some problems can be softened in editing. Trim a clip before a distracting object changes shape, adjust color and brightness to bring neighboring shots closer together, or cut to a relevant detail that avoids showing an inconsistent background. Sound can also help an action feel continuous, although it cannot repair a visible change in a character’s identity or a crucial prop. If a mismatch affects the story, regenerating the shot is usually clearer than trying to hide it.
Keep transitions purposeful. A simple cut often works better than a decorative effect that draws attention to a continuity problem. When a change of place or time is intentional, give the viewer a visual cue rather than expecting a transition to explain it.
Finish with a continuity review
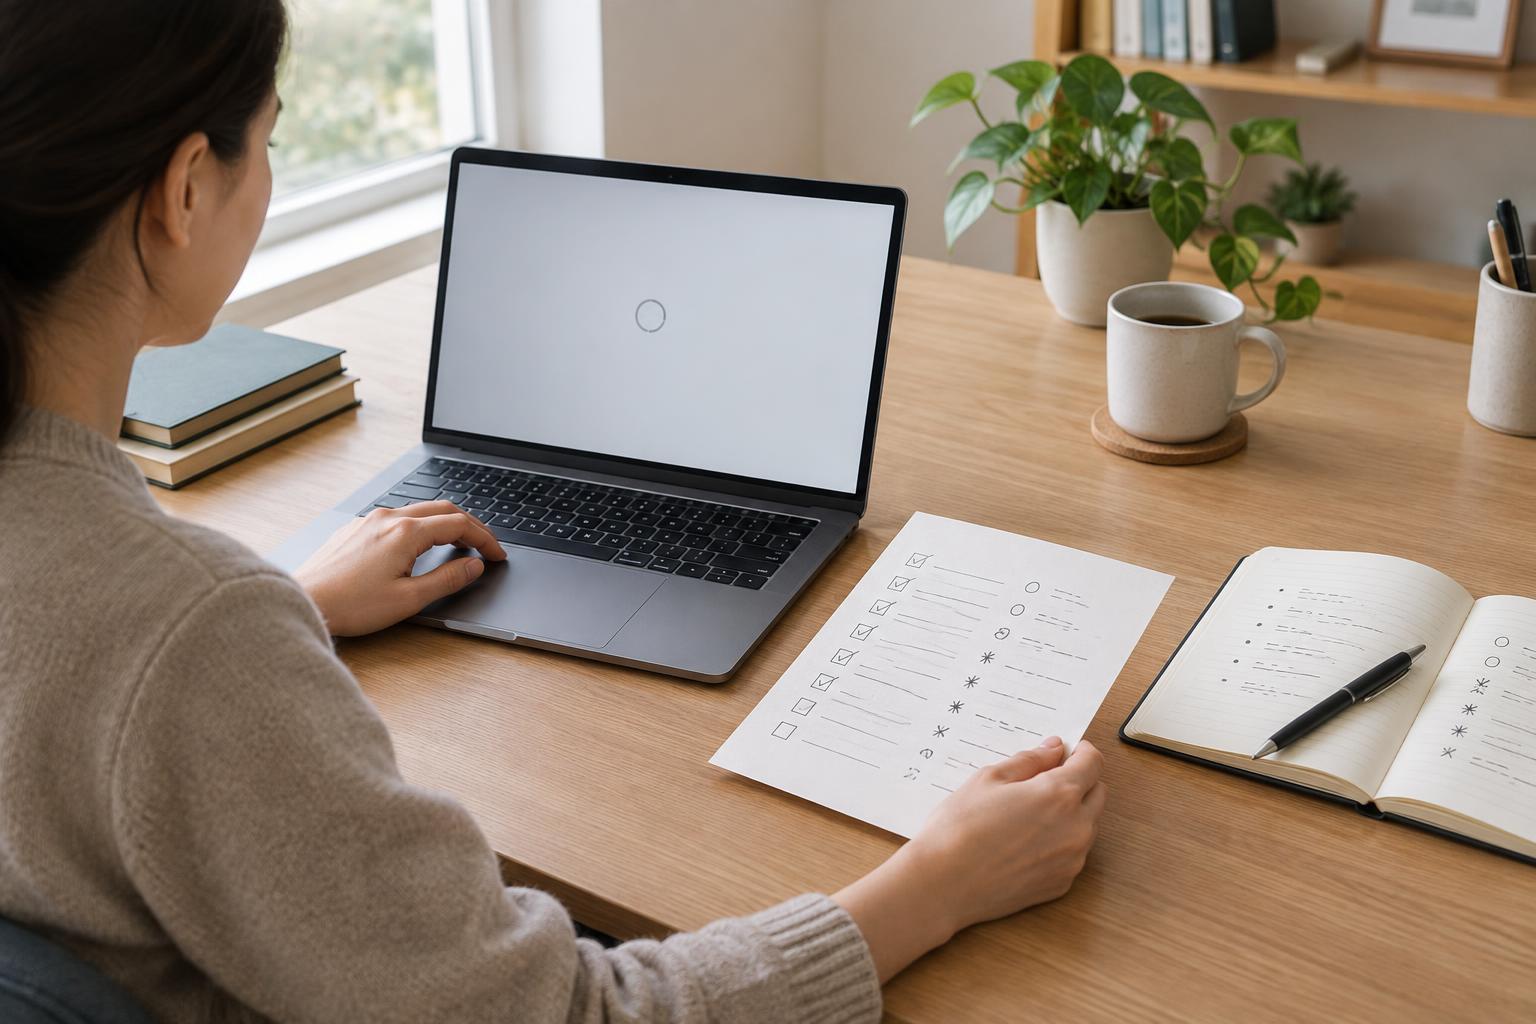
Watch the sequence once for the story, then once with a checklist. Check recurring faces and clothing, props, background layout, light direction, screen direction and the position of hands or objects across cuts. Pause at the start and end of each shot. Review at normal speed too: a detail may match in still frames yet move unnaturally when the clips play.
Prioritize fixes by what viewers need to understand. A slightly different wall texture may be harmless; a character holding the wrong object can confuse the action. Export a review copy and watch it away from the editing timeline, where familiar cuts may be easier to overlook. The goal is not identical frames. It is a sequence in which visual changes feel motivated and the viewer can follow what happens.