Start with the image’s actual pixel dimensions
Before editing an AI-generated image, find its width and height in pixels. These dimensions tell you how much image data you have to work with. A preview window can be misleading: it may shrink a large file or make a small file look sharp on screen. Check the downloaded file itself rather than relying on the size shown by the image generator.
For web use, compare the image’s pixel dimensions with the space it will occupy in your layout. If a banner displays at 1,200 pixels wide, a file narrower than that may look soft when enlarged. Supplying more pixels can help on high-density screens, but larger files also take longer to load. The useful size depends on the layout, device and image format, so test the image on an actual page when possible.
For print, decide the intended physical size before judging resolution. Divide the pixel width by the planned width in inches to estimate pixels per inch. For example, a 2,400-pixel-wide image placed 8 inches wide provides 300 pixels per inch. That may be suitable for many close-viewed prints, but requirements vary with the printer, paper and viewing distance. Changing a file’s resolution label without changing its pixel dimensions does not add detail.
Inspect the details a preview can hide
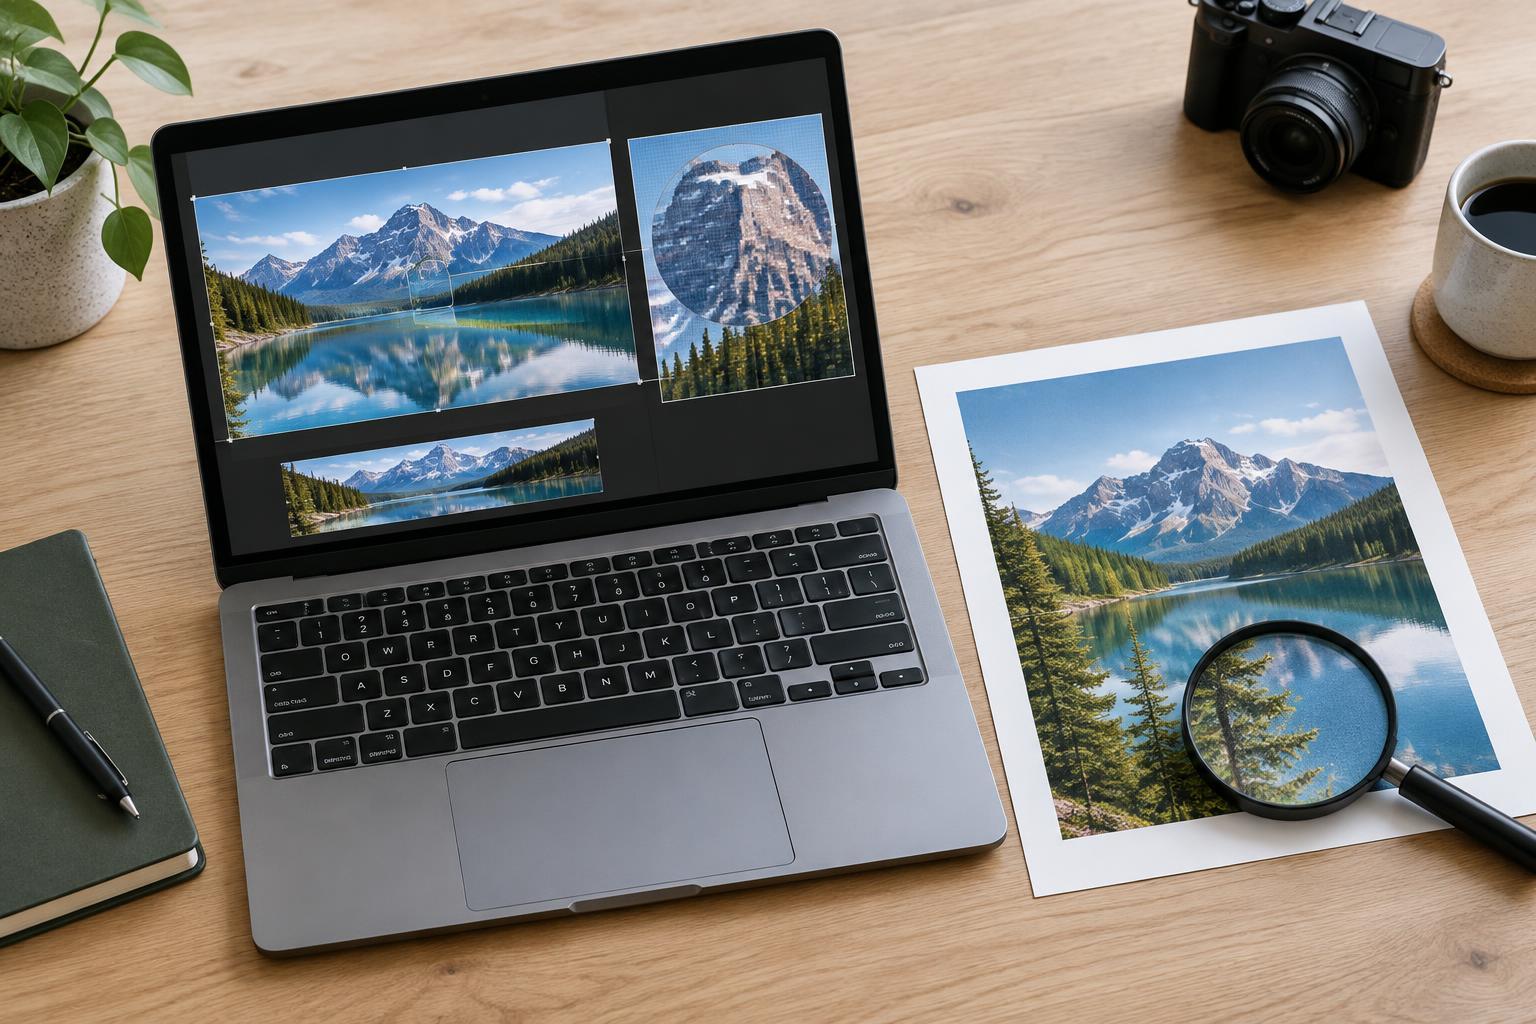
View the image at 100% zoom, then scan it section by section. Pay particular attention to faces, hands, lettering, logos, repeating patterns and the edges of objects. AI-generated images may contain plausible-looking details that do not hold together on closer inspection: uneven fingers, distorted text, mismatched reflections or objects that blend into their surroundings. A small thumbnail can conceal these problems.
Next, inspect the image at its intended display size. Some flaws visible at 100% will be irrelevant in a small web card, while a slightly soft face may become distracting on a large print. If the image will be cropped, test that crop now. Cutting away an artifact can be useful, but it also leaves fewer pixels for the final composition and may remove important context.
Check whether the image communicates what you intend, not just whether it is technically sharp. An illustration with unreadable text on a sign may confuse viewers even if the words are tiny. A product-style image can imply features that do not exist. When accuracy matters, replace unreliable details with verified assets or choose a different image rather than assuming viewers will not notice.
Make edits, then check the new file
Start with the least destructive fix. A modest crop, adjustment to contrast or removal of a small background flaw may be enough. If you need to enlarge the image, try an upscaling tool, but inspect its output closely. Upscaling can make edges appear cleaner; it cannot reliably recover details that were never present. It may also invent textures or alter faces and text.
Keep an editable master file separate from your final exports. For a website, export at dimensions suited to the layout and compare file size with visible quality. Compression can create blocky areas, smudged detail or halos around high-contrast edges. For print, use the file format and color settings requested by the print provider, then review the exported file—not only the working document. A good-looking edit is little help if the delivered version is cropped incorrectly or overly compressed.
Use a final check matched to the destination
For web publishing, place the image in a draft page and check it at several screen widths. Look for unexpected crops, soft focal points and text embedded in the image that becomes too small to read. If you add text over the image, confirm that it remains legible. An image that works as a desktop banner may need a different crop for a narrow screen.
For print, view the image at approximately its planned physical size. If the project warrants it, make a small test print or request a proof. A screen emits light, while ink sits on a surface, so the final piece may look different even when the file is prepared carefully. Check important details at the distance from which people will actually see it.
Make approval a repeatable decision: confirm dimensions, inspect likely artifact areas, test the final crop and review the exported file in context. If a problem survives those checks, regenerate or choose another image. The aim is not to make every pixel perfect; it is to make sure the image remains clear and trustworthy where people will encounter it.